30 Jan, 2025 — Donita Kadharusman
Principles of Games Art 24/25
3D — Worlds Apart, Week 6
Texturing
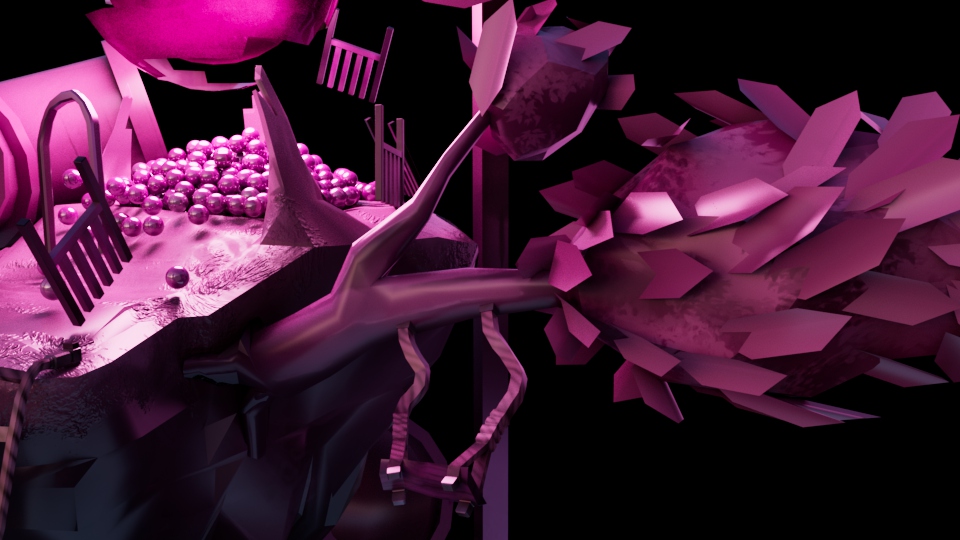
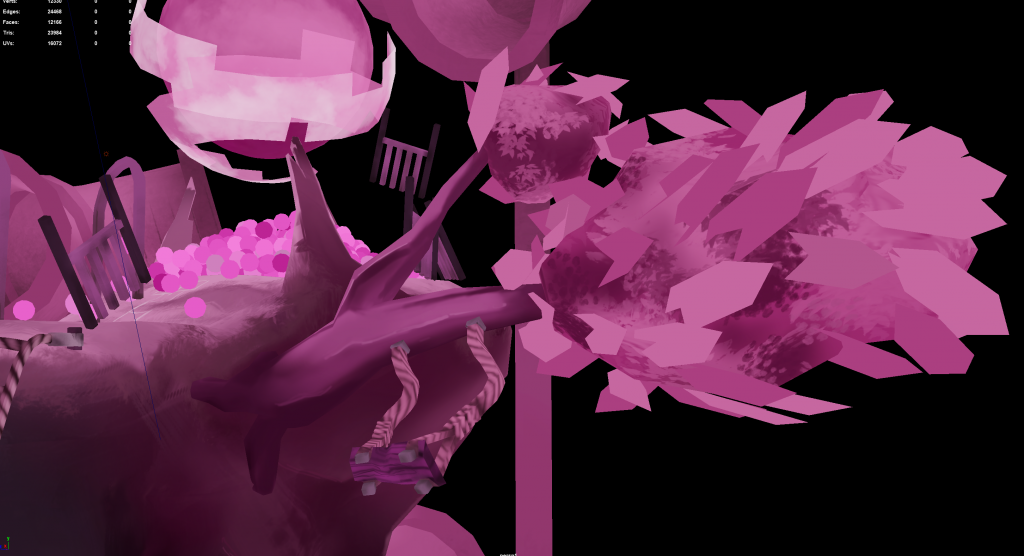
After observing the textured diorama, I realised how the gates and slides stood out too much as they were unrealistically clean. Because of this, I decided to add dirt texture to make them more realistic. Moreover, I tweaked the design of the portal by lowering the opacity of the portal’s aura to enhance its concept design, which was a cotton candy portal.
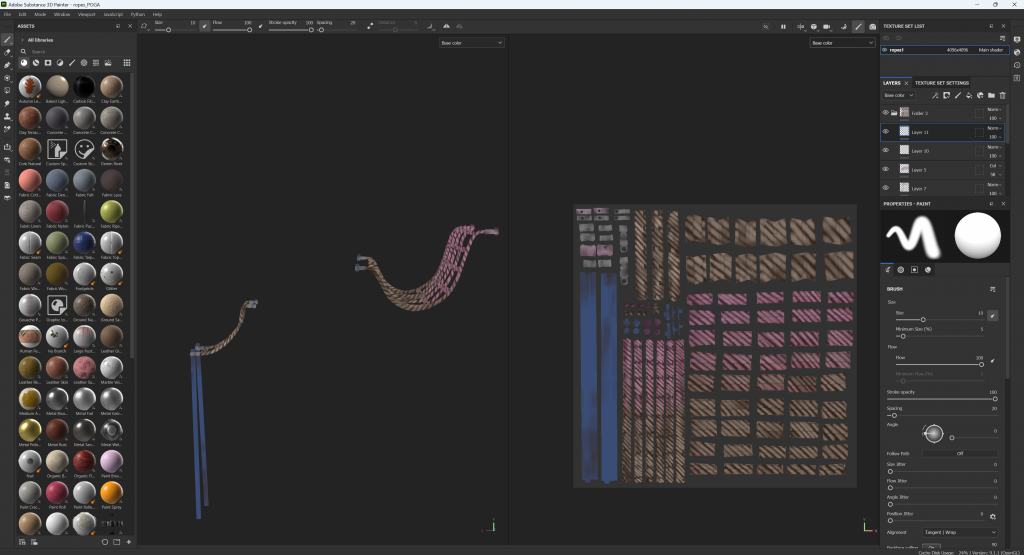
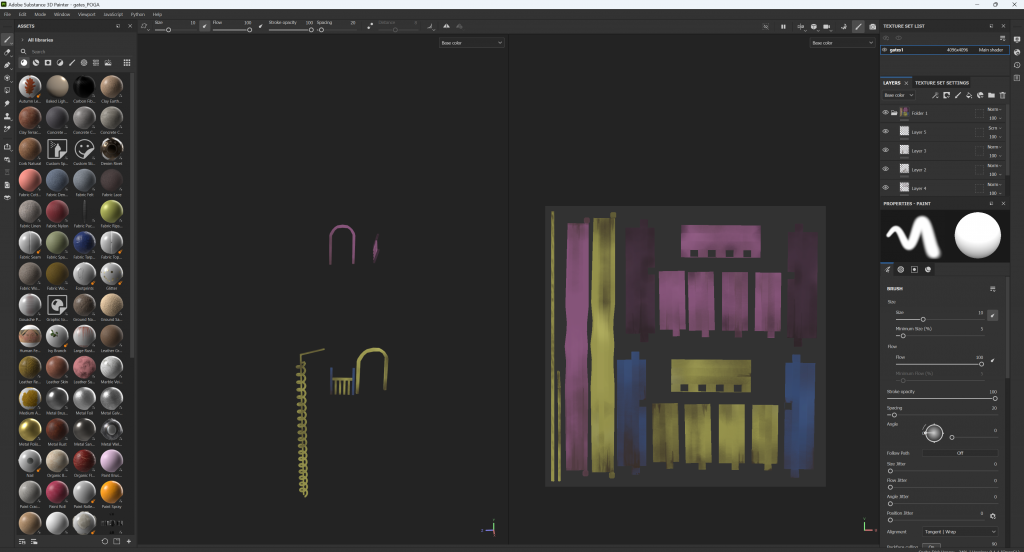
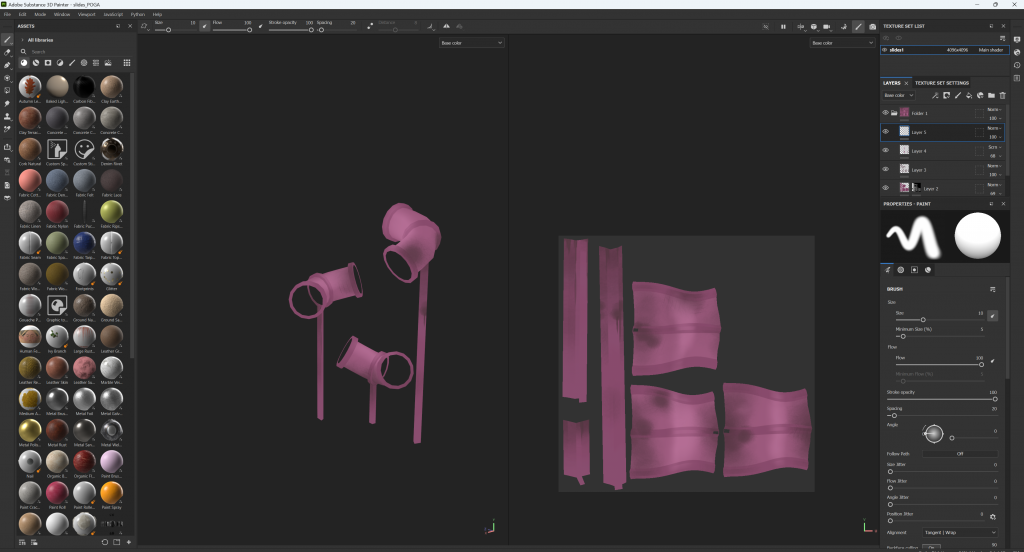
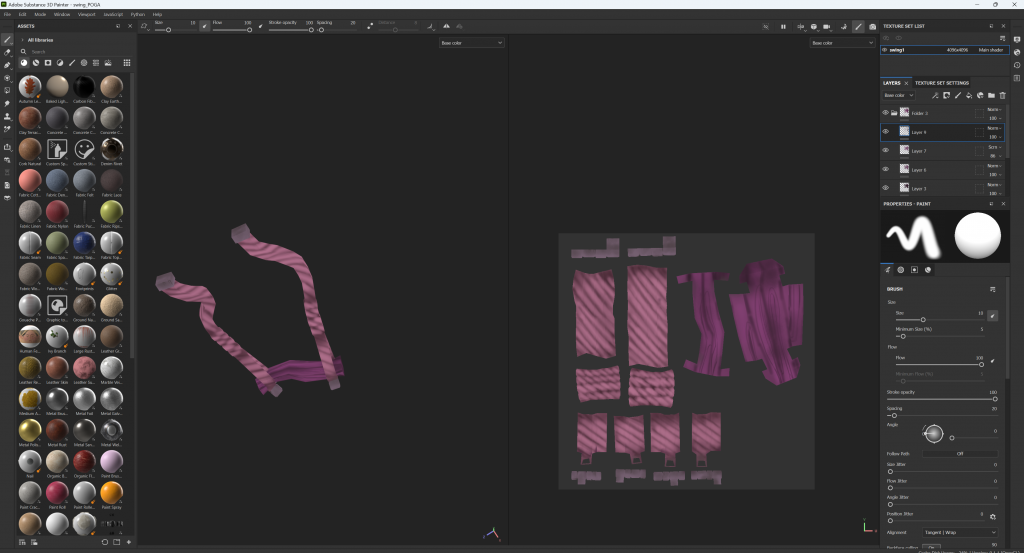
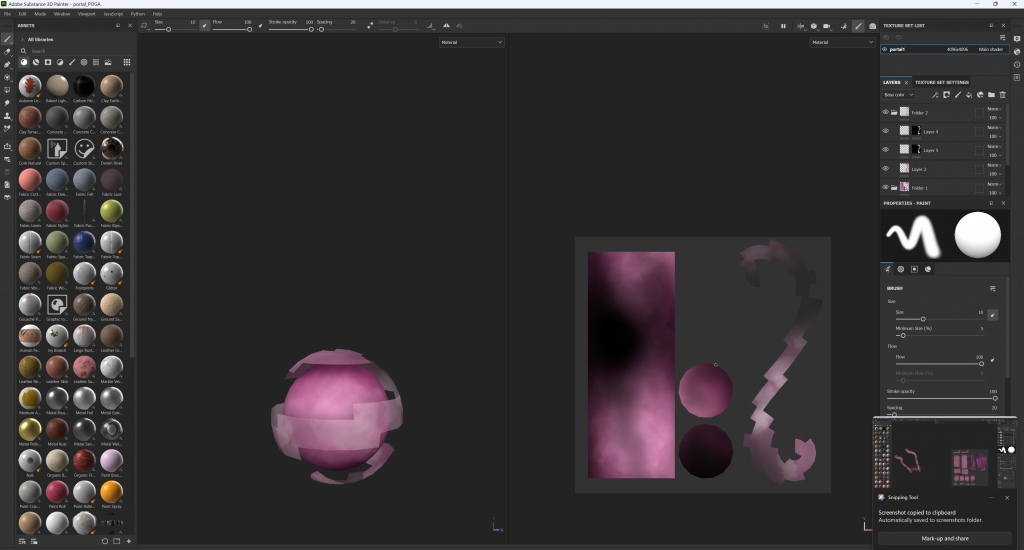
Adding these textures enhances the diorama’s harmony.

Lighting in Diorama
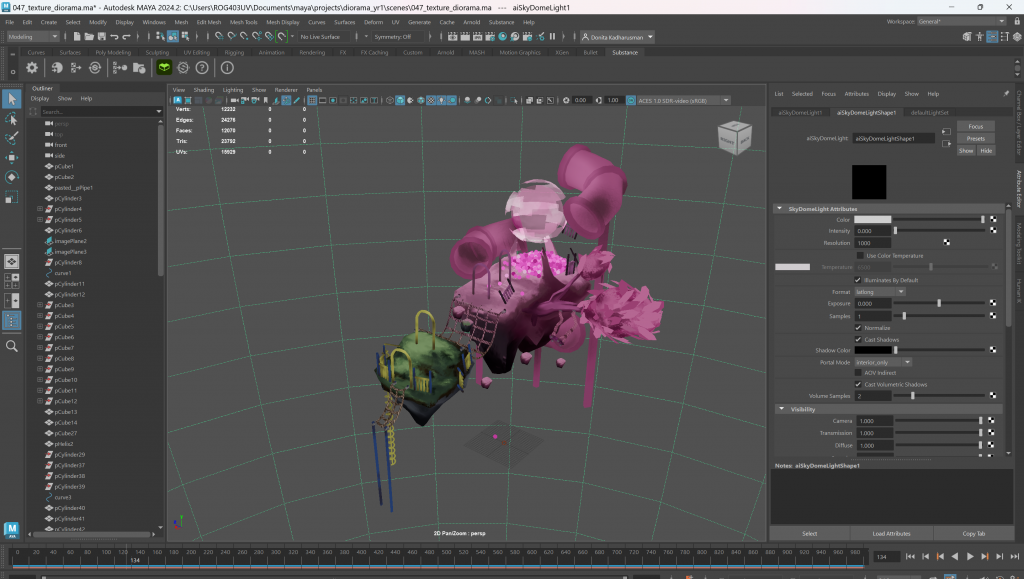
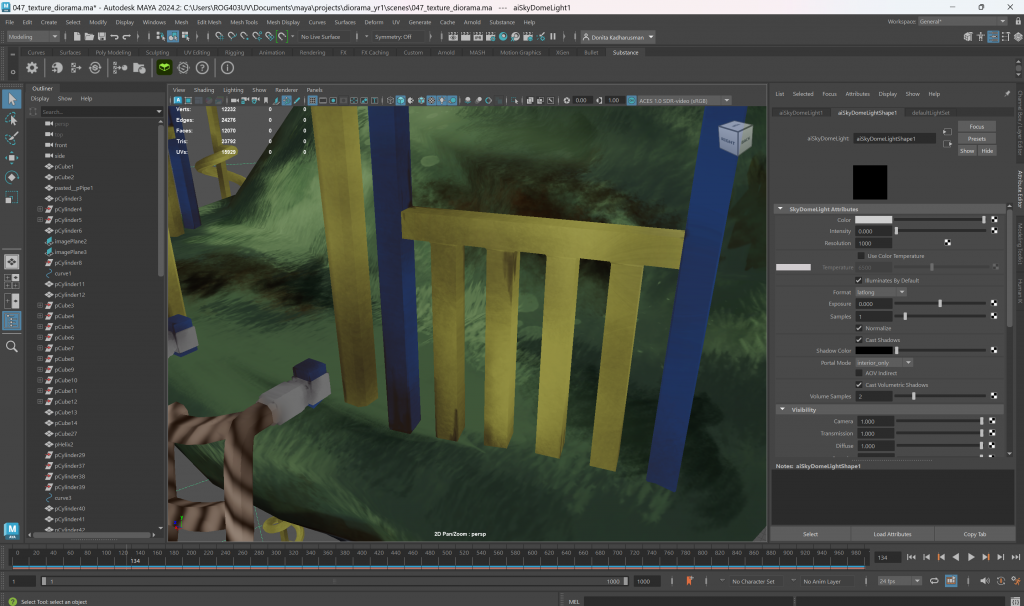
The final step was to add lighting to the diorama to improve its atmosphere and storytelling. One of the first lighting I put was the sky dome light which create a dome surrounding the diorama to illuminate it. Hence, if colour is applied to the dome, it will reflect those colours to the diorama.
A trick Amil taught us was to apply an environment image to the dome to represent the overall atmosphere. As my diorama / the playground exist as someone’s fragment memories, I’d imagine it is floating among the clouds. I chose 2 images of skies that would suit the theme, one with pink sunset sky while the other with clear blue sky.
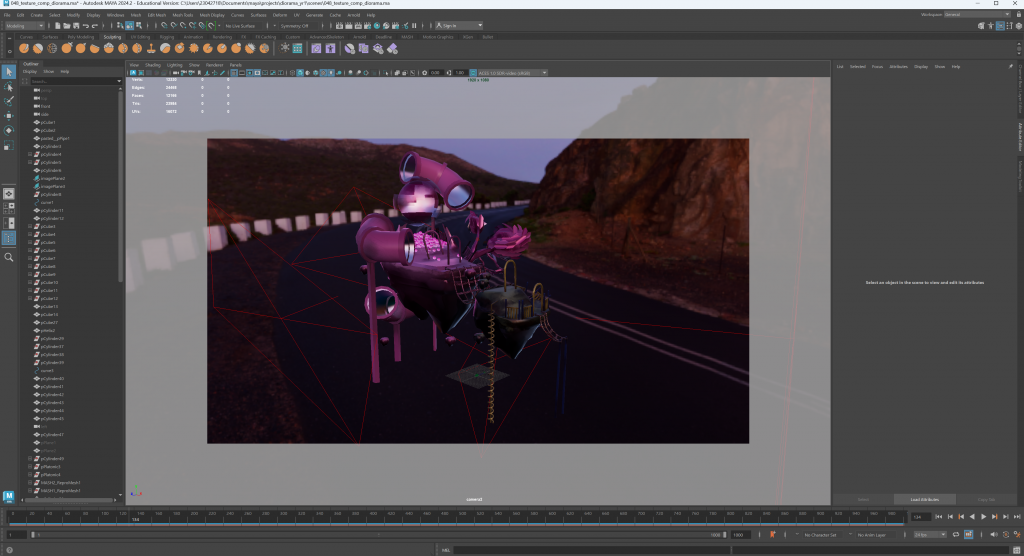
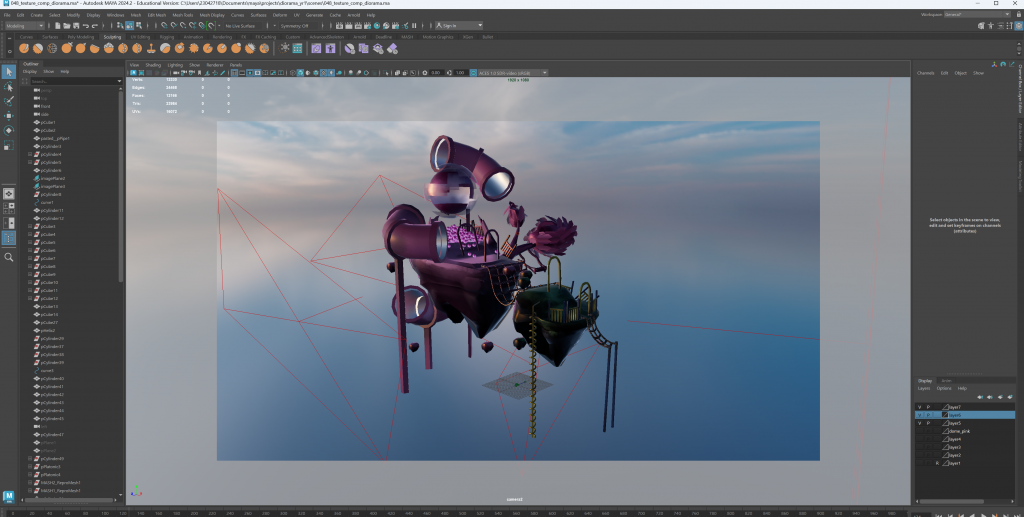
The results were different, but both support the theme to make the colour palette pastel to represent fragment memory.
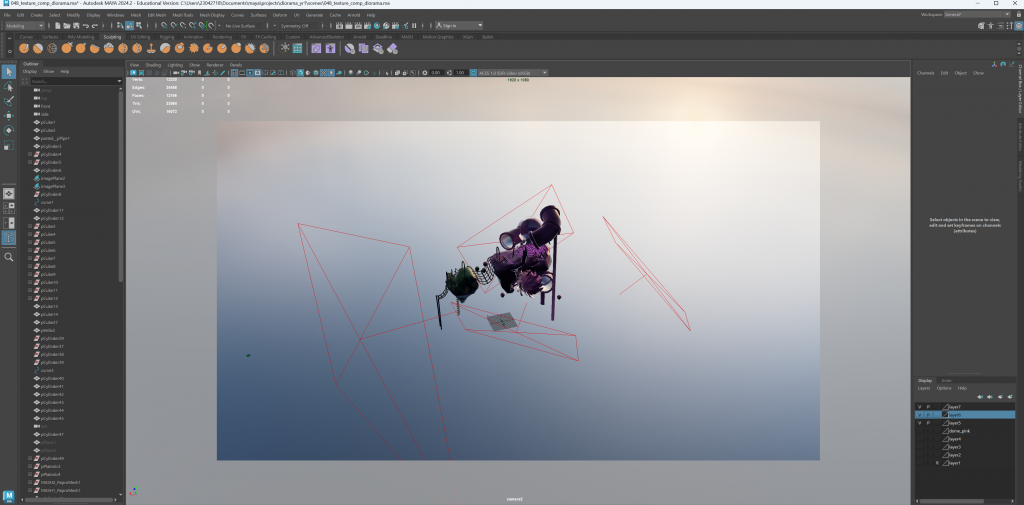
Besides the overall light, we were taught about 3 point light. This lighting technique includes 3 lights, the key light which is the strongest light, fill light, and back light. With these 3 lights, my diorama is perfectly lit from all direction. I first add a mesh light to the portal. But since it erased the texture, Amil, our tutor came up with a solution of duplicating the portal, hence having a texture and mesh light separated.
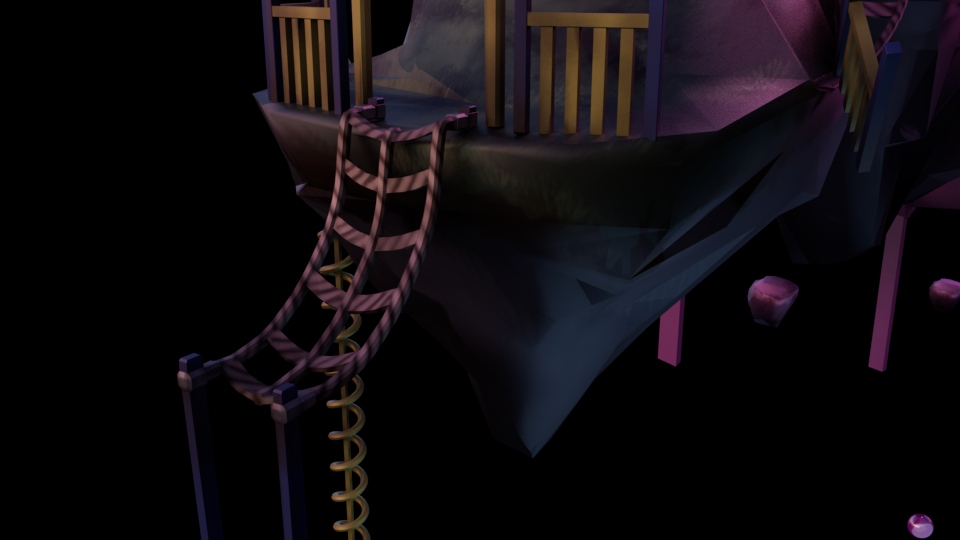
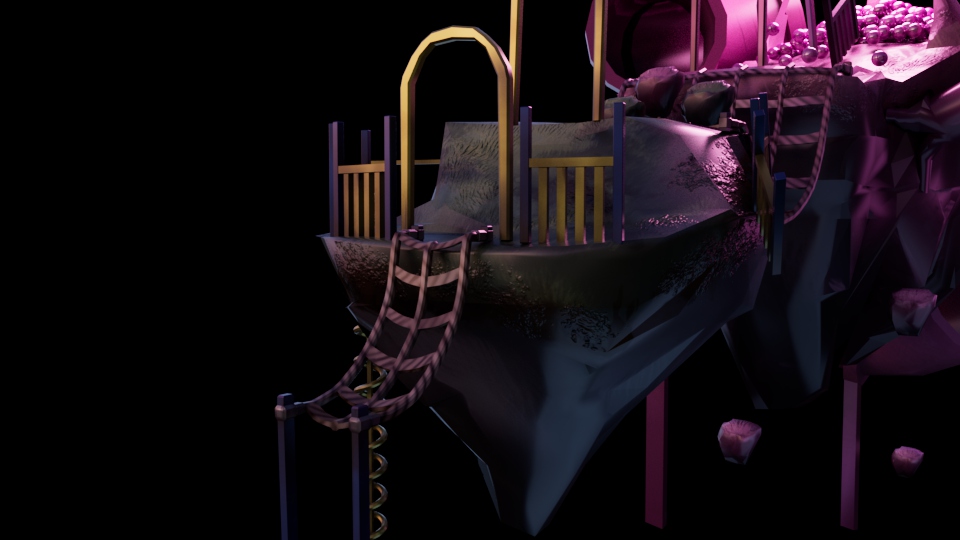
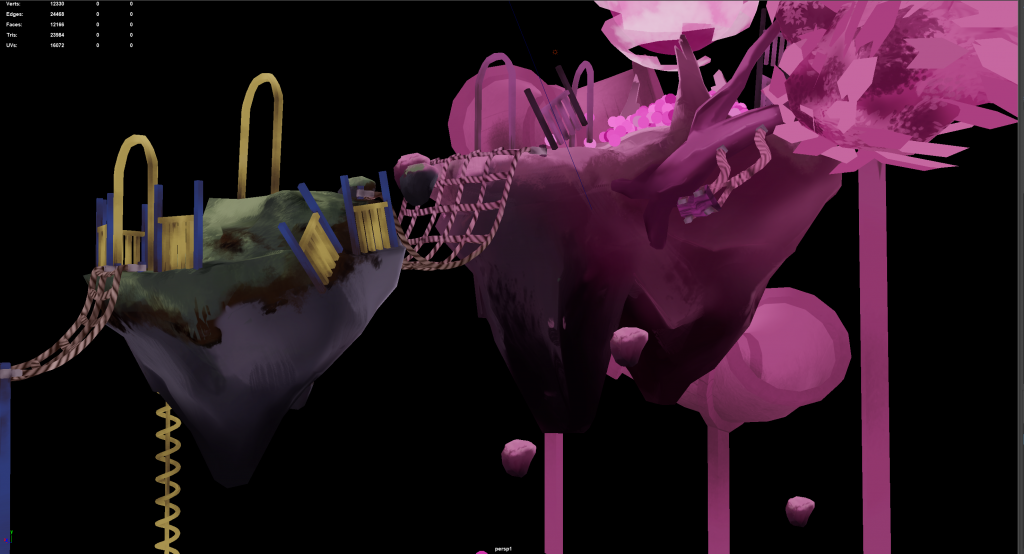
With the portal light being pink, I chose a contrasting colour to use as key light to add dynamism, which was blue. It adds a slight hint of blue to the bottom of the island. Then using pink for back light to support the pink hue from the portal and lighter blue as fill light from the other side of the key light to enhance the still atmosphere. However, the diorama was still considered too dark (I wanted the diorama to be dark to feel slightly ominous, but not too dark). To fix this, I add one final neutral coloured light from the front – a plain white light. (Although in the end, this additional light didn’t change anything when being rendered)
(Maya crashed, deleting most of the snapshots and progress of lighting 🙁 )
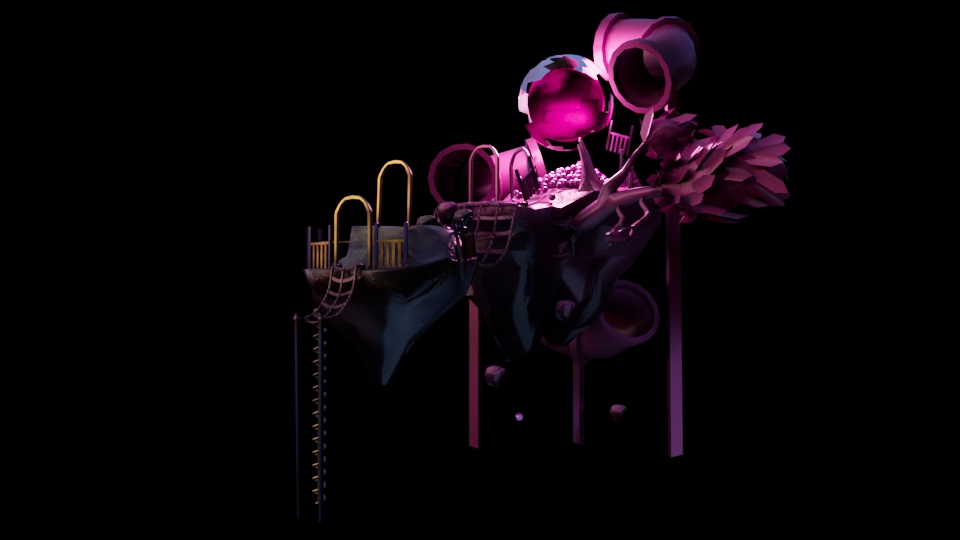

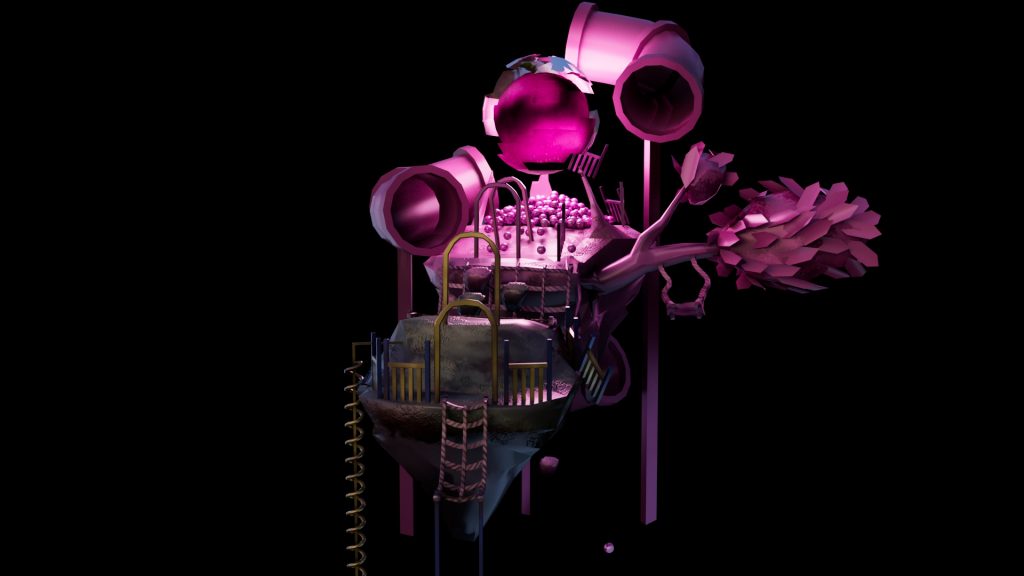
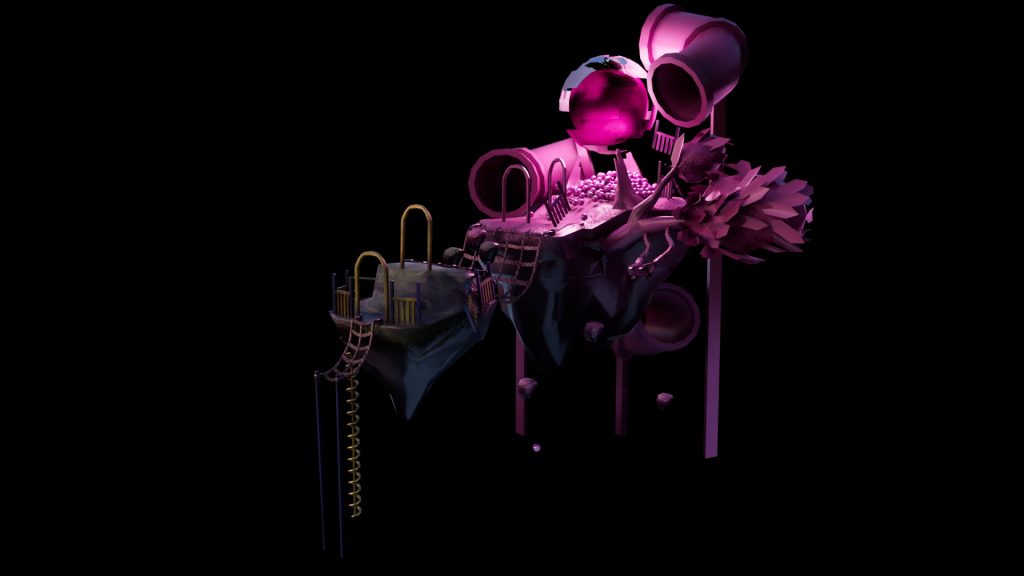
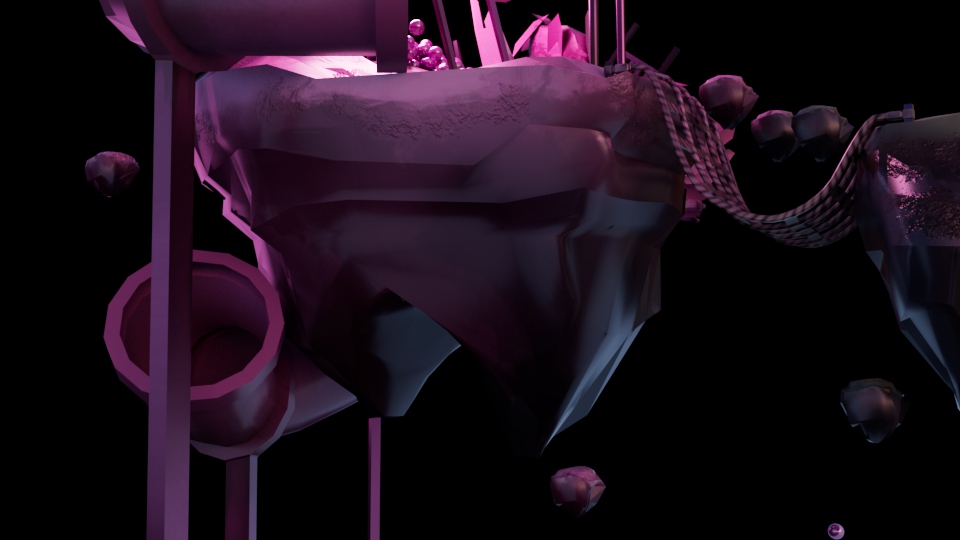
Although I love the one with blue sky light, I went with the pink sky light instead. As it resembles the playfulness and sweet atmosphere of a playground, while the one with blue sky light is more serene and realistic. Also, the portal’s aura with blue sky light is too bright/blinding.
While rendering, I noticed that the results were grainy because of the light. I tried maximising the camera AA samples to the render setting but it still didn’t fix the problem. As YC and I were having the same problem, Amil helped us out by suggesting a specific render settings: 6 Camera (AA) while the rest is put in 4. With these render setting, we finally achieved rendered results with much less noise.
This is because every render settings are unique, everything in the 3D model affects the best quality of render settings (like the lighting or the camera angle).


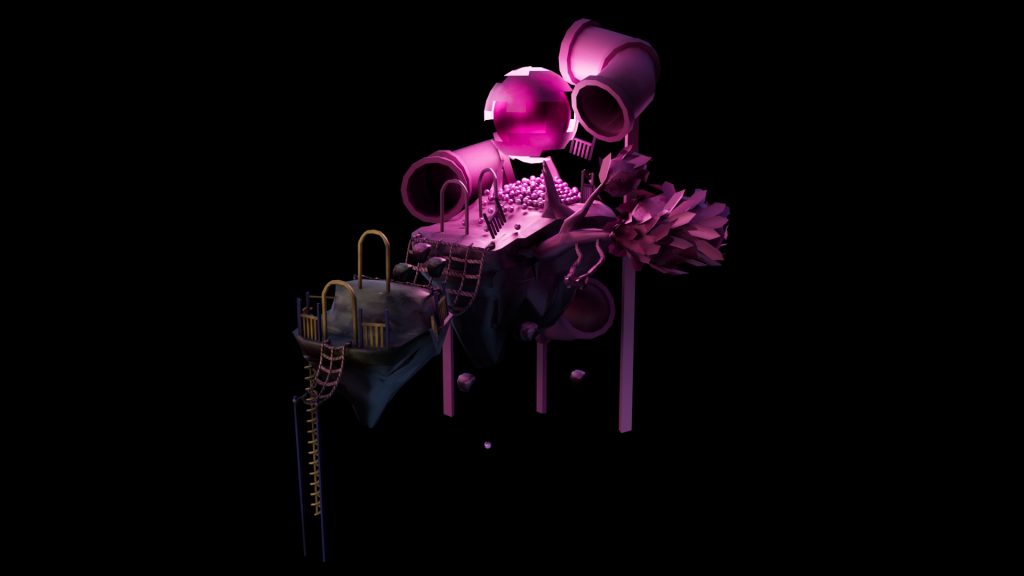
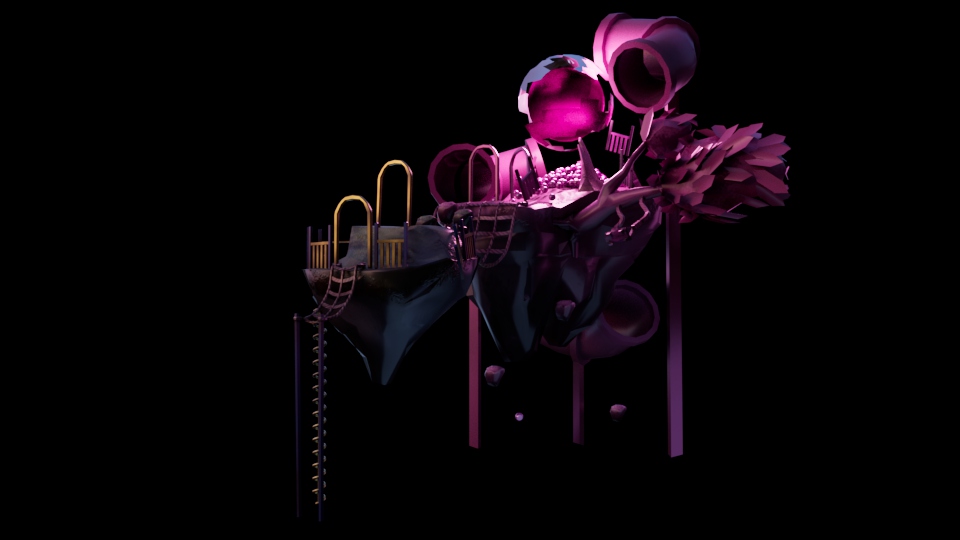
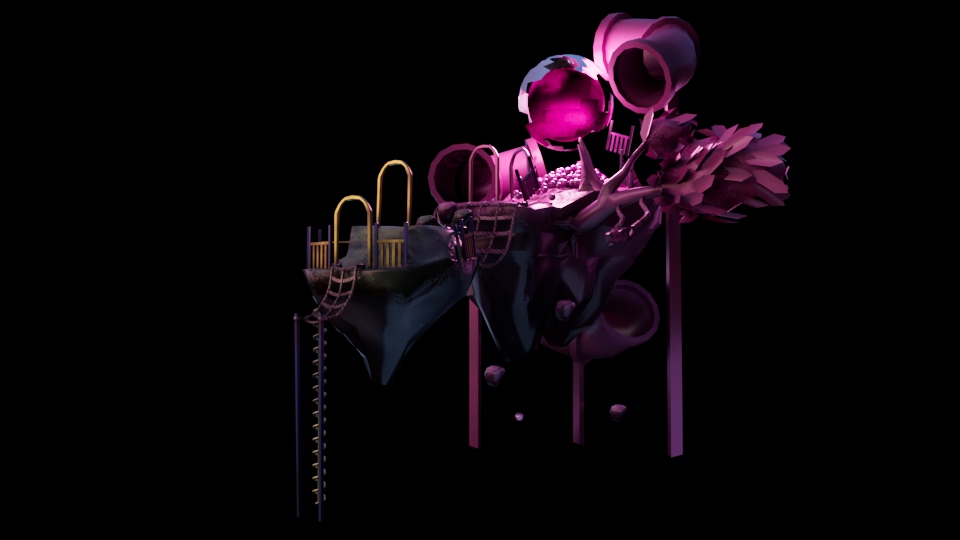
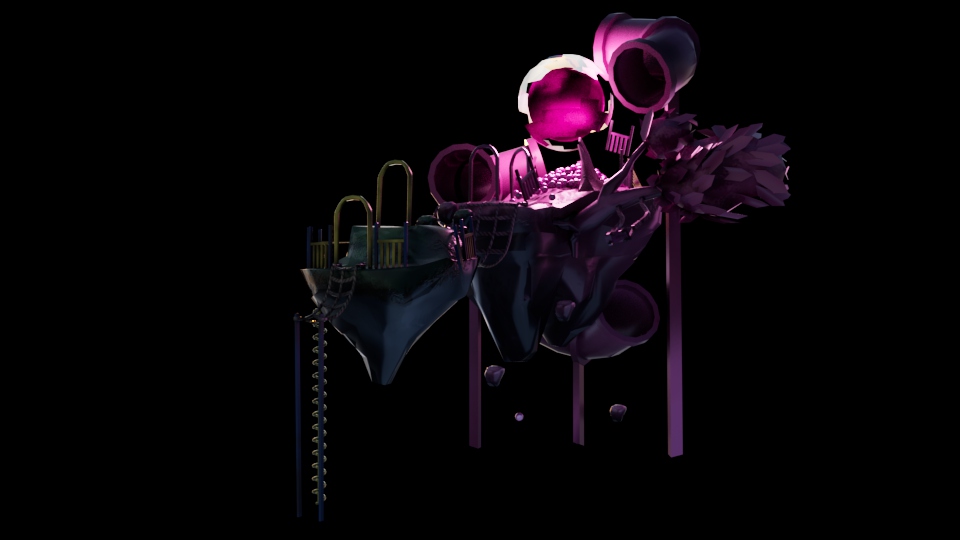
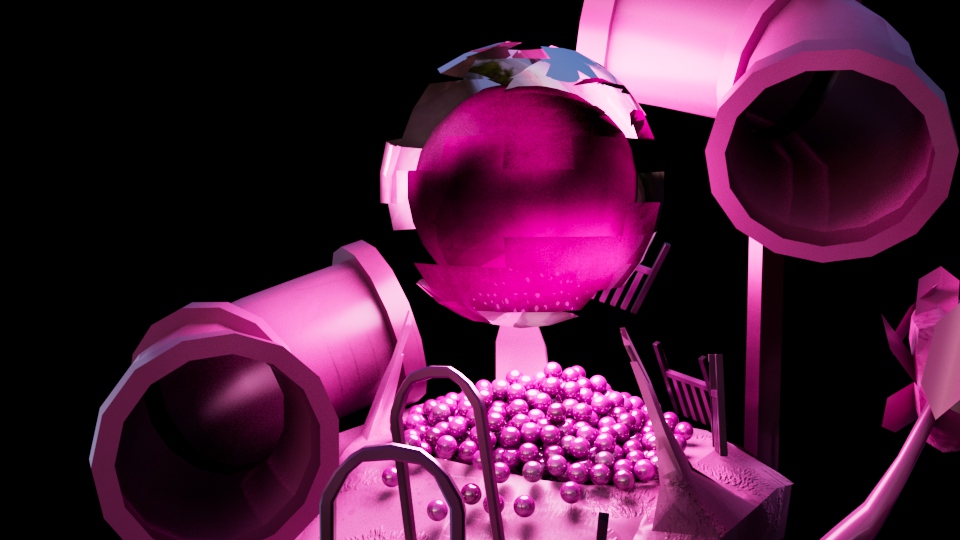
After rendering, I realised again that I didn’t include the roughness and metal texture. Without the roughness textures, the diorama felt soft and lighting were all over the place. While the metal texture add a glossy texture above the colours which they didn’t show in the previous renders. With all these texture applied, the rendered results also produced less noise.
These are the results with roughness and metal texture:
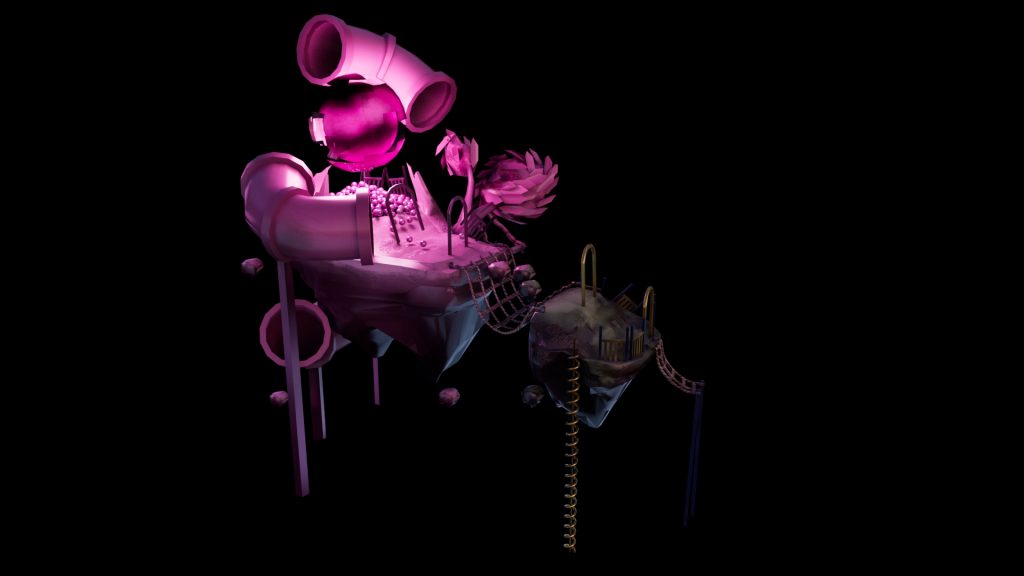
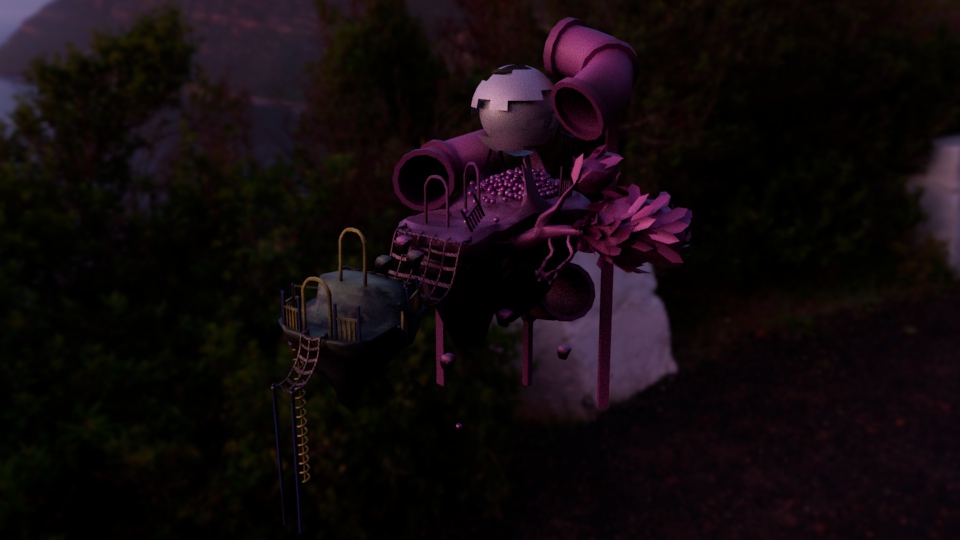
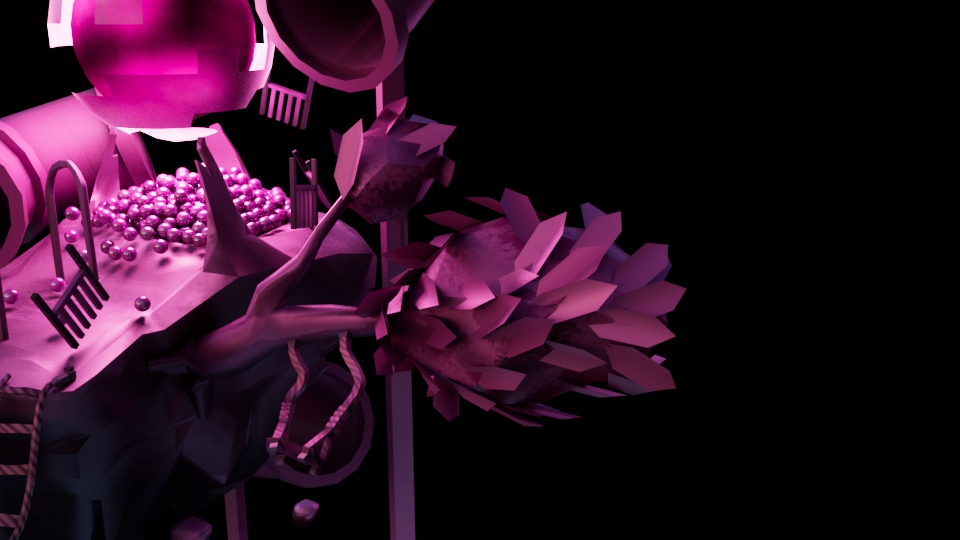
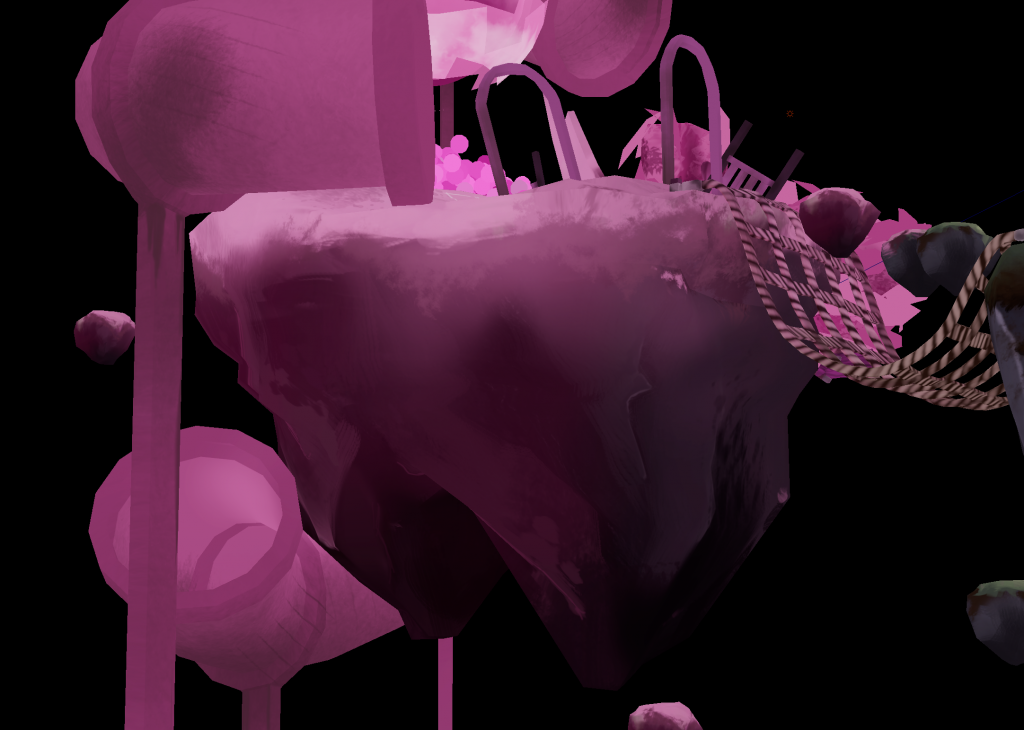
Details close up with lighting (without roughness and metal):
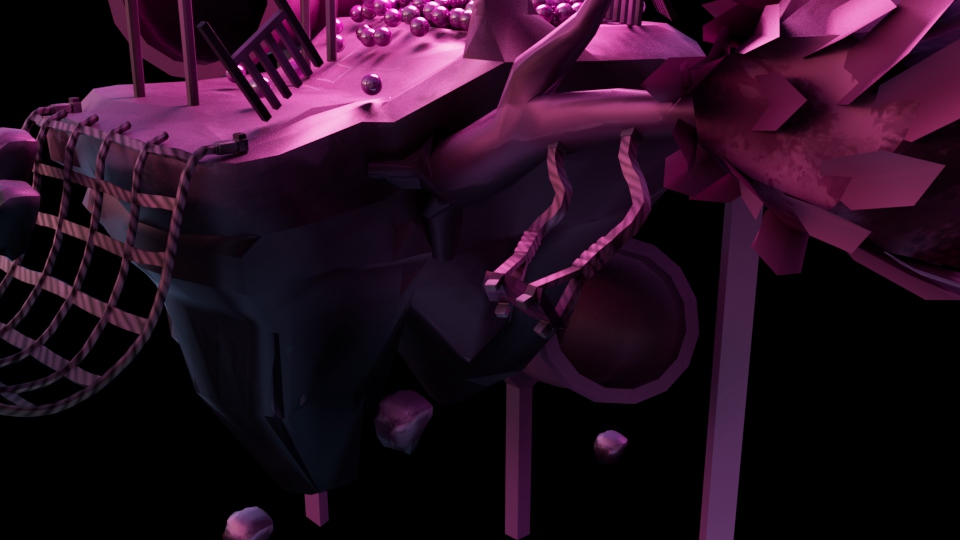
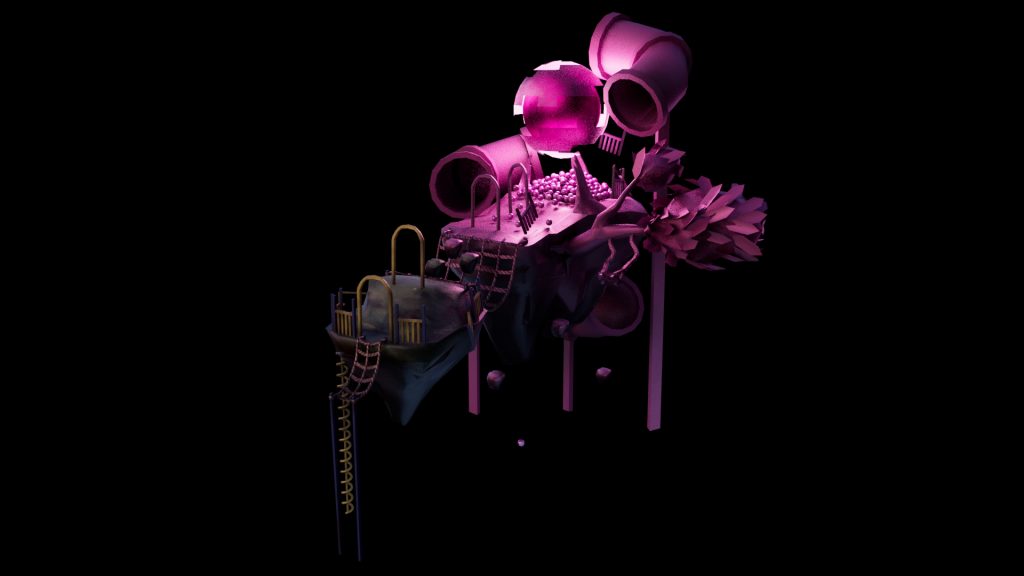
Details close up with lighting (with roughness and metal):
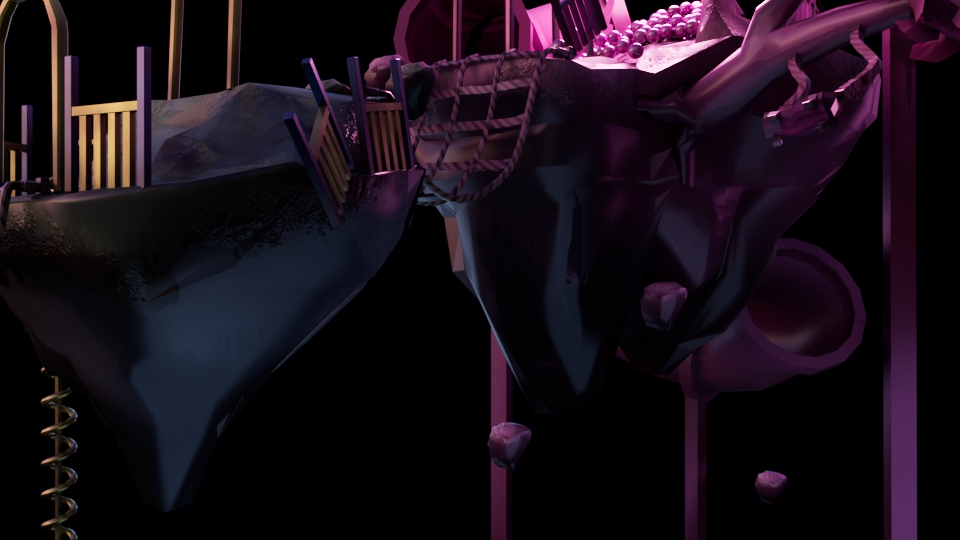
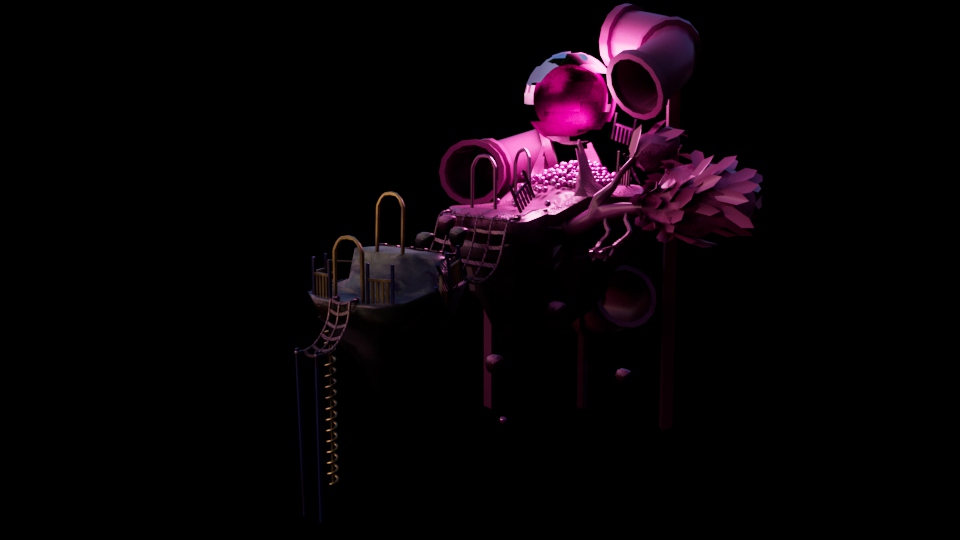
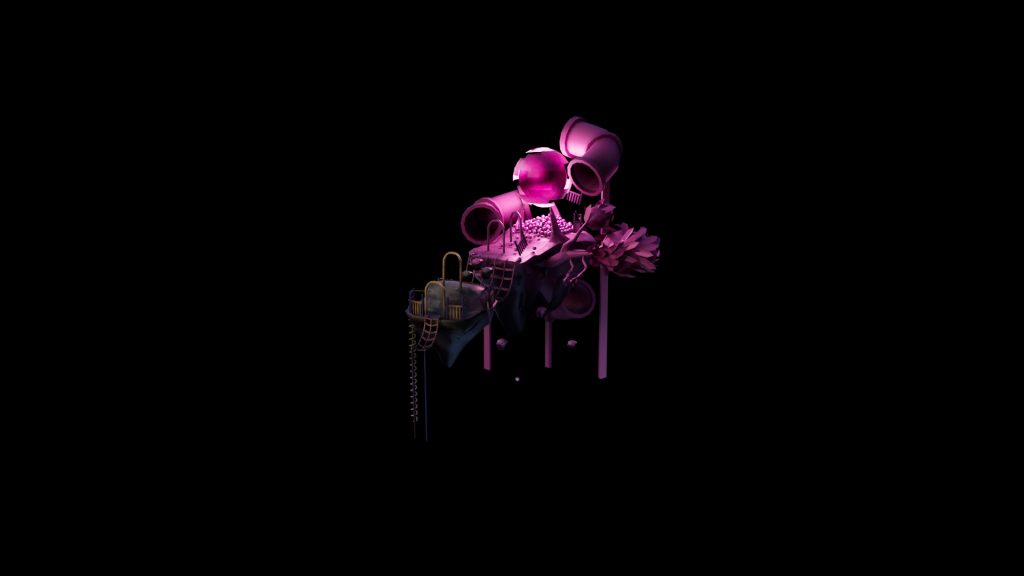
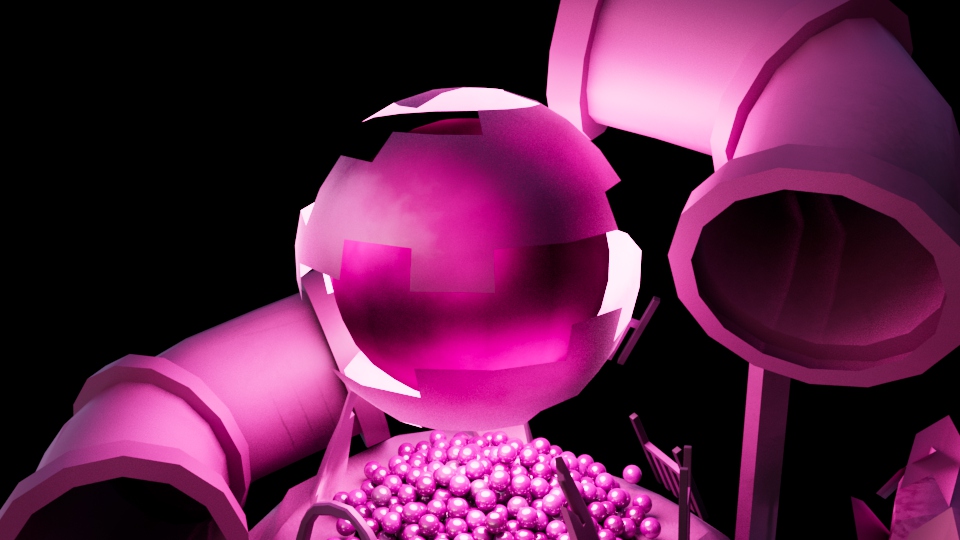
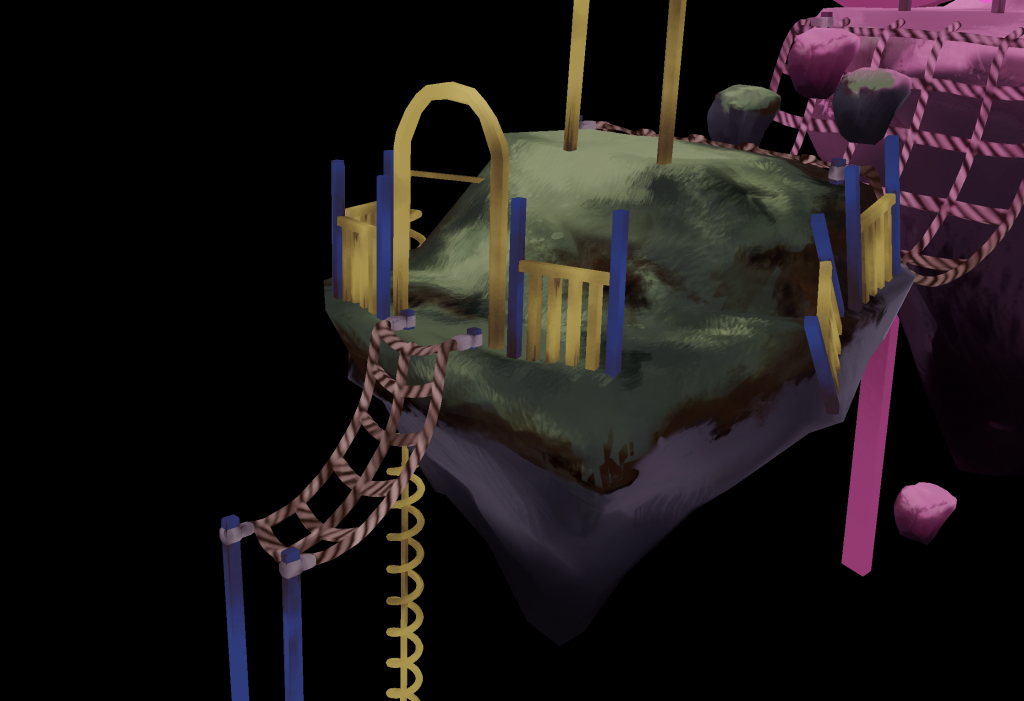
Details close up without lighting:
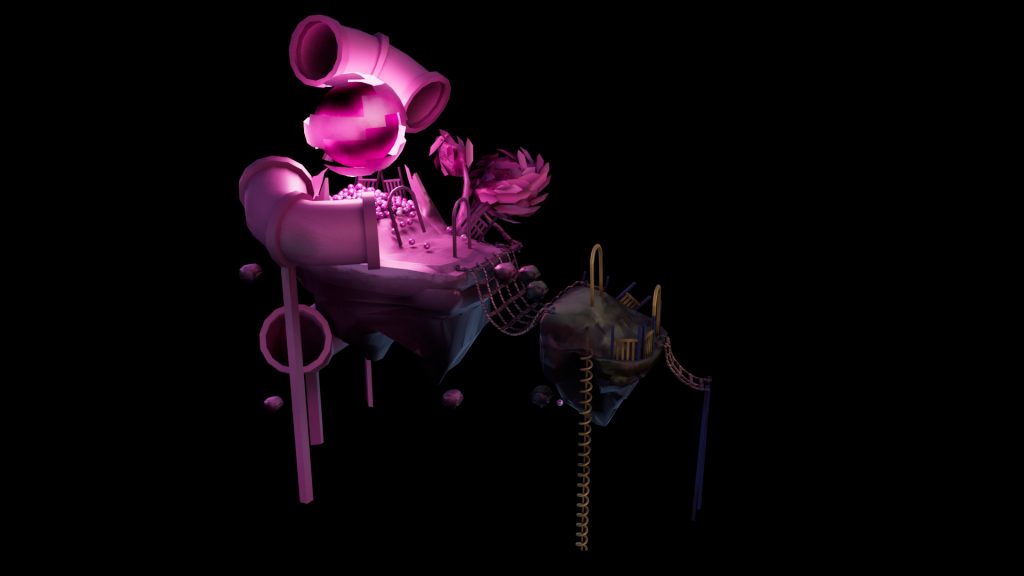
Final Results